Unleash the Power of ChatGPTs Code Interpreter: Crafting a Dynamic ESP32 Data Logger with DHT22 and Google Sheets
Billions of dollars invested in AI research and development. AI is evolving every day, continually reshaping the boundaries of what’s possible. That is simply why the latest version of

Billions of dollars invested in AI research and development. AI is evolving every day, continually reshaping the boundaries of what's possible. That is simply why the latest version of ChatGPT now comes equipped with an enhanced Code Interpreter. With this innovative addition, users can expect more dynamic code responses, bridging the gap between natural language processing and actionable programming solutions.
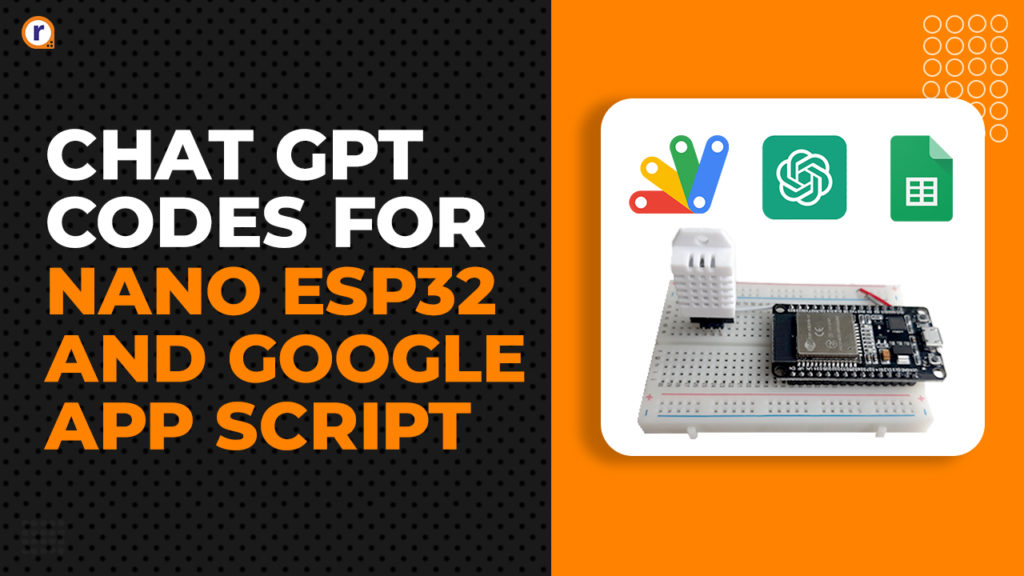
Don't get me wrong! ChatGPT has always been impressive at writing code. But its capabilities have truly skyrocketed with the addition of a code interpreter. So here at Robu! We were eager to test its new capabilities, and what better way to do that than make a project with it? So, exactly as our title suggests, we'll develop an ESP32-based data logger using Google Sheets as our backend. for all code written by ChatGPT and its enhanced code interpreter. Sounds interesting, right? Let's get right into it.
Can chat GPT write code for me?
Chat GPT is not specifically designed to write code but can assist in the process. Using machine learning algorithms, Chat GPT can analyze and understand code snippets and generate new code based on the input it receives.
What is a code interpreter?
Code Interpreter (CI) is an official ChatGPT plugin by OpenAI that pushes the boundaries of what's possible with AI by enabling data analytics, image conversions, code editing, and much more.
Advantages of Using Google Sheets as a Data Server
Leveraging Google Sheets as a data server offers seamless data logging without third-party dependencies, enables advanced analytics with built-in functions, ensures cross-platform accessibility, and simplifies integrations with Google's ecosystem.
Seamless Data Logging: Google Sheets offers a straightforward and robust mechanism for data logging, eliminating the need for external third-party services.
Advanced Data Manipulation: With its suite of functions, analyzing and manipulating collected data becomes a streamlined process.
Cross-Platform Accessibility: Google Sheets supports access from both desktop and mobile platforms, ensuring continuous monitoring and updates on the go.
Integration Flexibility: Custom functions and integrations with other Google apps can be effortlessly achieved via Google Scripts, enhancing its applicability.
Enhanced Data Visualization: With conditional formatting, data visualization, monitoring, and analysis are significantly enhanced, allowing for clear and quick insights.
Prompting Chat GPT to Write us the ESP32 and AppScript Code
Now what we will do is prompt chat GPT to write us the app script code but before that, we are going to click on GPT-4 Model and we will select code interpreter from the options.
Now we will give our prompt. “Write me an ESP32 code for the Arduino IDE to get temperature and humidity data from the DHT22 sensor and send that data to Google Sheets. Also, give me the Google App Script Code and detailed instructions”
The code interpreter gives me the above code for the Google app script and just by looking at the code I can clearly see that the sheet name and the sheet ID are missing from the code.
As for the Arduino ESP32 code, I was very surprised to see that it was absolutely error-free.
Now I told chat GPT that there should be sheet_id and sheet_name parameters “in the app script there should be an authentication parameter like sheet name and sheet id” so it gave me the following response.
With that, I was happy with what chat GPT has provided to us so I went ahead and made the hardware circuit.
Creating the Schematic by Looking at the Code
Well, if we were to do this code in a straightforward way, we would have made the schematic first, then done the hardware circuit then be doing our code. But for this project, we are going to assume Chat GPT knows everything, and we will take its judgment and make the hardware by looking at the code.
In the schematic, the DHT22 is connected to the GPIO4 of the ESP32. Once the hardware schematic was done it would look like what is shown above.
And here is the piece of code where the chat GPT is telling us to connect the DHT22 to GPIO4 of the ESP32 module.
The actual hardware circuit looks like the image above.
Deploying The Google App Script
If you go above and check the prompt that I have given to it, you can see that I was very clear that I need proper instruction on how to deploy the code. And what I have got is shown above. An epic fail from chat GPT, so at this point I had to use my googling skills to figure out how to deploy the code. So, here's what I found,
Go to Extension and go to Apps Script. The new APP Script window will open. Now paste in the provided code. And don't forget to paste in your Sheet ID and Sheet Name.
Now you need to click on the Settings Icon and click on the Web app
Once you click on a Web app, a new window will open, now in the description give your app a name. And most importantly you need to change the Who has access to Anyone. Once done you need to click on the Deploy button.
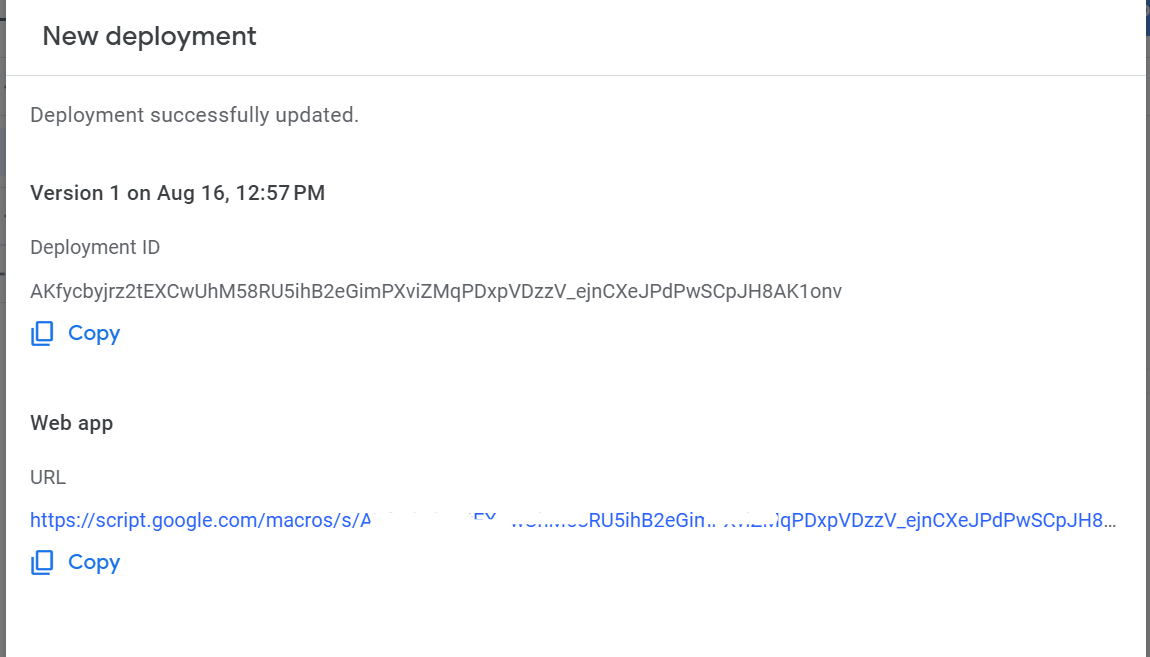
Then you have to authorize your app with a Google account, and if you have done everything correctly, you will be presented with a web app URL. But for some reason, it didn't work for me on the first try, and I had to go through the following steps to make it work:
If the API also is not working for you, you can follow the steps. Go to deploy and new deployment and now select API Executable and click on Deploy button, now copy the given API, for me this API worked like a charm and just by clicking on it you can see the data onto your google sheets.
Code for Arduino Nano ESP32 and Google App Script
The complete code for Arduino Nano ESP32 and Google App Script is written below. You can just copy-paste it in your project and it should work without any errors, but if you want to test the capabilities of Chat GPT you can use the given prompt to do that.
Google App Script Code
var SHEET_NAME = 'Sheet 1’; // Change to your sheet name
var SHEET_ID = 'YOUR_SHEET_ID'; // Change to your sheet ID
function doGet(e){
var result = 'Failed'; // default failure message
// Check if the provided parameters match our expected values
if(e.parameter.sheetname == SHEET_NAME && e.parameter.sheetid == SHEET_ID) {
try {
var doc = SpreadsheetApp.openById(SHEET_ID);
var sheet = doc.getSheetByName(SHEET_NAME);
var newRow = sheet.getLastRow() + 1;
var rowData = [];
rowData[0] = new Date(); // Timestamp
rowData[1] = e.parameter.temperature; // Temperature from DHT22
rowData[2] = e.parameter.humidity; // Humidity from DHT22
sheet.getRange(newRow, 1, 1, rowData.length).setValues([rowData]);
result = 'Ok'; // success message
} catch(e){
result = 'Error: ' + e.toString();
}
}
return ContentService.createTextOutput(result);
}
Arduino Nano ESP32 Code
#include <WiFi.h>
#include <HTTPClient.h>
#include "DHT.h"
#define DHTPIN 4 // Define which pin the DHT22 is connected to
#define DHTTYPE DHT22
// WiFi settings
const char* ssid = "YOUR_SSID";
const char* password = "YOUR_PASSWORD";
// Google Script Deployment URL
String GAS_URL = "YOUR_GOOGLE_SCRIPT_URL";
DHT dht(DHTPIN, DHTTYPE);
void setup() {
Serial.begin(115200);
dht.begin();
WiFi.begin(ssid, password);
while (WiFi.status() != WL_CONNECTED) {
delay(1000);
Serial.println("Connecting to WiFi...");
}
Serial.println("Connected to WiFi");
}
void loop() {
float humidity = dht.readHumidity();
float temperature = dht.readTemperature();
if (isnan(humidity) || isnan(temperature)) {
Serial.println("Failed to read from DHT sensor!");
return;
}
sendDataToGoogleSheet(temperature, humidity);
delay(60000); // Send data every 1 minute
}
void sendDataToGoogleSheet(float temperature, float humidity) {
if(WiFi.status()== WL_CONNECTED){
HTTPClient http;
String url = GAS_URL + "?temperature=" + String(temperature) + "&humidity=" + String(humidity);
http.begin(url);
int httpResponseCode = http.GET();
if(httpResponseCode>0){
String response = http.getString();
Serial.println(response);
} else {
Serial.print("Error on sending POST: ");
Serial.println(httpResponseCode);
}
http.end();
} else {
Serial.println("Error in WiFi connection");
}
}
Conclusion
In this project, we've leveraged ChatGPT's advanced code interpreter to create an ESP32-based data logger with a DHT22 sensor, utilizing Google Sheets for seamless data storage. This data is sent to Google Sheets for easy tracking. ChatGPT helped us write the code for the ESP32 device and Google Sheets. We had a little trouble setting it up, but we figured it out by following steps. Overall, we combined AI and hardware to create a cool data tracker!


leveraged ChatGPT’s advanced code interpreter will work properly or not. However, your article have helped me to create best. thank for helping me.