3D Printer Types Explained In Details – SLA, DMLS, FDM, SLS
There are many 3D printing processes that are available in the market and can be used to design 3D objects.

As discussed in our previous blog, the variety of 3D printing processes available in the market and are similar to each other, but they print objects differently.
The 3D printing processes that I will explain in this blog are as follows:
- FDM 3D Printing
- SLS 3D Printing
- SLA 3D Printing
- DMLS 3D Printing

In the next part of this blog, I am going to explain the four most popular 3D printing processes one by one. If you have any doubt, you can ask me in the comment section.
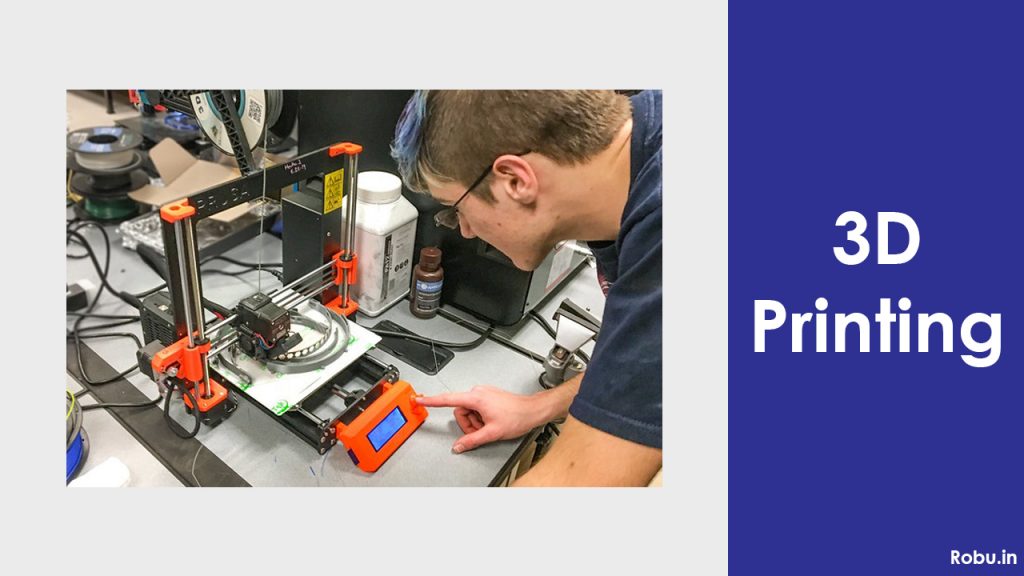
1) FDM 3D Printing Technology
You may have heard of FDM technologies, it is a type of additive 3D printing manufacturing technology.
Nowadays, it is a very popular technology due to its user-friendliness. Besides, this technology is more affordable than other types of 3D printing processes.
PLA VS ABS
In FDM, we typically use ABS and PLA material types. Now you must be wondering what PLA and ABS are?
As I told you earlier, they are very well-known materials that are used in the FDM 3D printing process.
Talking about polylactic acid (PLA), 3D Geeks always prefers this material for prototype designing. It is low cost, inexpensive material.
If we compare the PLA material with Acrylonitrile butadiene styrene (ABS), the ABS material is more durable and tensile than the PLA material. High-weight robotic wheels are built using only this material.
PETG Filaments are also used for FDM, It is reuseable and can be used in many applications.
If you want to know more about the types of filament then we request you to check this blog.

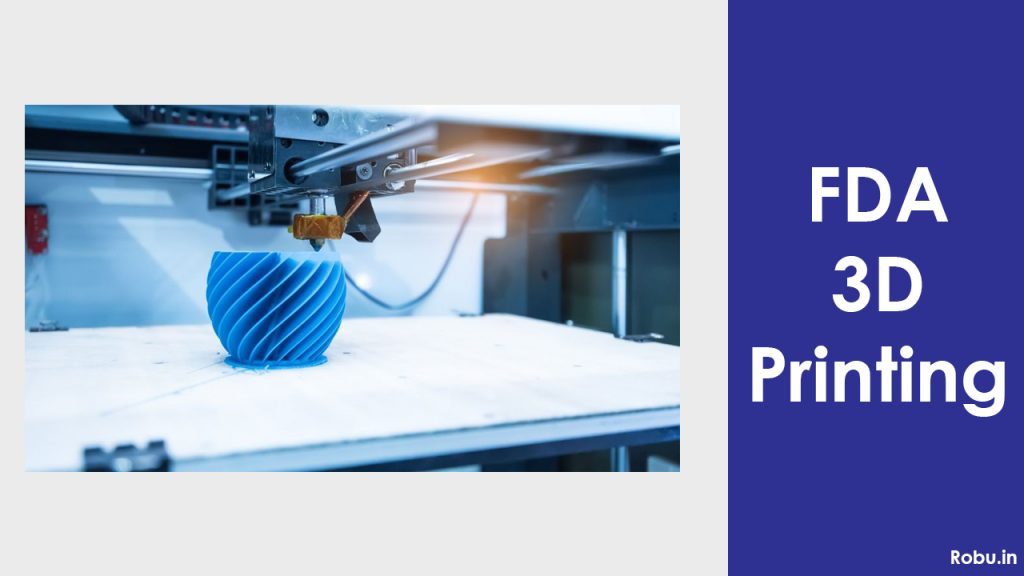
As you now know the basics of the FDA, now we discuss the designing process of the FDA, the FDA process starts making 3D printer items from bottom to top. This is the same as other 3D printers do.
The filament we use in FDM is first given to the extruder, where the extruder heats the filament and melts to the required temperature.
Use Of Temperature Sensor in FDM
The temperature of the extruder (heater) is adjusted by the 3D printer and to do this the temperature sensor is connected to the extruder.
That temperature sensor detects the heater temperature and sends those readings to the microcomputer where the microcomputer decides to turn the heater on / off based on the readings received. In this way, the temperature of the heater is adjusted.
After the filament melts, the head of the FDM 3D printer begins to print the molten filament layer on layer on the build platform until the object is fully designed.
It was about the FDM 3D printing process, this 3D printing process is the fastest object designing process, and being the fastest and super easy 3D printing technology, object manufacturing companies can cut the lead time and cost of the process.
Nowadays, FDM 3D printing technology is being used in many industrial sectors such as farming areas, medical fields, and more.
The Steps Involved in The FDM Process Are As Follows:
- The appropriate filament is first selected and loaded into the printer. The heater is then switched on. Once the heater temperature reaches the desired temperature, the molten material is fed to the head of the extruder.
- Different types of extruders are available in the market. The selection of these extruders depends on the particular application and type of machine used. This extruder is connected to a 3-axis system that allows it to move in the x, y, and z directions.
- With the help of this 3-axis system, the melted filament is deposited layer by layer at the programmed locations, where it cools and solidifies.
- The process of applying melted filament is repeated until the entire object is formed.
2) SLS 3D Printing Technology
It is the second most popular 3D printing technology, the filament used in previous 3D printing technology was first melted and then deposited on top of the build platform, but what about SLS 3D printing? How does an SLS 3D printer design objects?
This question may be in your mind, well SLS 3D printer is for selective laser sintering.
In SLS 3D printers Light Source (LASER) is used to cure the material and the material used in this process is nylon powder.
The laser used in the 3D printer sinters the layers in a predefined manner and once the first layer is sintered the 3D printer brings the second layer of powder over the previously sintered layer.
This process of sintering and bringing the powder continues until the object is designed.
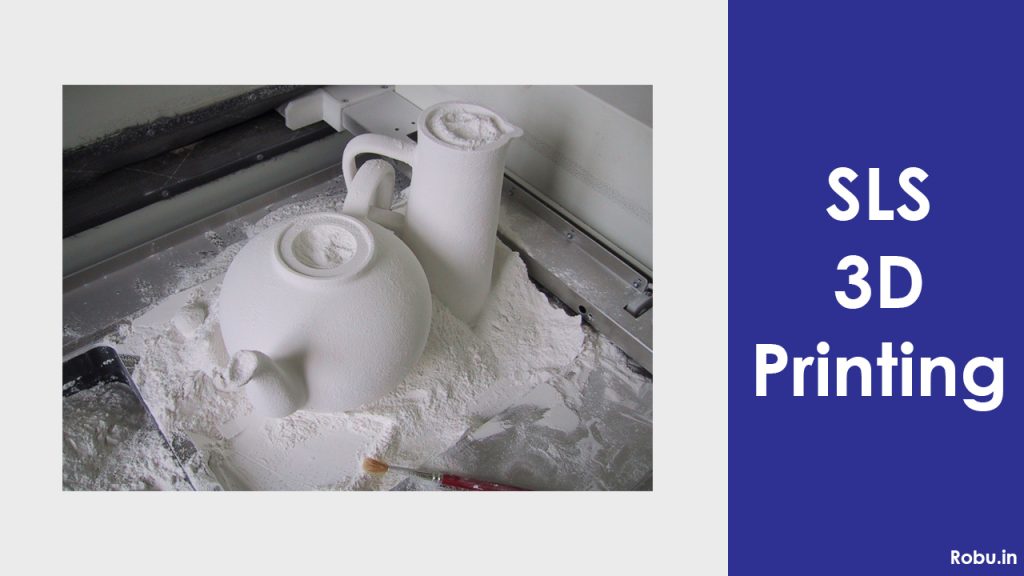
Once the object is designed the excess powder is removed using a brush.
In this way, SLS can be used to design objects.

The main advantage of this 3D printing process is that you do not need to design support columns. The object is surrounded by powder, so designing a support column is not required.
The Steps Involved in The SLS Process Are as Follows:
- The 3D model of the object is designed and then passed on to the system.
- After the 3D model is sliced, LASER starts sintering the layer, after sintering is complete, the powder layer is brought over the previous layer and LASER again starts sintering the second layer. This process continues until the object is designed.
- After completion of the object, the extra powder is removed with the help of the brush.
- In this way, we get a 3D printed object out of SLS 3D printers.
3) SLA 3D Printing:
In our previous section, we talked about SLS 3D printing, in that process laser was used to cure the material.
LASER is also used in SLA 3D printing, but the only difference is that here in SLA we use liquid resins and SLS uses powder.
So, how does a laser cure resin and make an object?
Photopolymerization Process in 3D Printing
The answer is very simple and somewhat similar to other 3D printing processes, SLA 3D printer uses Photopolymerization Process.
I know that this process will be new to some of you, but don't worry, let me tell you, it is a process of solidifying the object.
In this process, when the laser beam falls on the resin the monomer carbon chains that compose the liquid resin are activated and become strong.
It is an irreversible process which means that the object cannot be converted back to a liquid state after solidifying.

3D Printing Process of The SLA
In SLA 3D printing, first, we start with designing the 3D model and slicing the 3D model into layers
After compiling this initial process, we pass that digital data to the 3D printing machine, where the 3D printing machine turns on the laser and starts designing the 3D object.
I hope you have got the basic idea of an SLA 3D printer, in our next part we will talk about the steps that are involved in this 3D printing process.
The Steps Involved in The SLA Process Are as Follows:
- In the SLA 3D printer, the very first part is the laser. According to the received data, the laser is pointed at a mirror and that mirror is attached to the motor.
- The motor is programmed in such a way that, it points the laser beam on the platform in a predefined manner.
- Talking about the platform, the platform is dipped in the resin tank and it goes down after each successfully curing process of the resin.
- After the compilation of object design, there is one more process is left and that is putting the object under UV light. By doing this we give some extra strength to the designed object.
- In this way, the SLA 3D printer designs the object.
4) Direct Metal Laser Sintering (DMLS)
Have you heard about the metal object designing process? You may have heard about the traditional object designing process.
In the traditional object designing technique, the subtractive method is used for object designing. If you do not know what DMLS technology is, then I request you to check this blog on different types of object manufacturing techniques.
In this section of the blog, we will talk about the DMLS object designing technique. Which is an additive object creation process.

Benefits of the DMLS 3D Printing
DMLS is used for the design of metal parts. Using this technique, we can design a metal object without the need for any type of tooling.
In addition, prototypes designed using this technique can be used directly in final applications because those parts are as dense as those produced by conventional metal manufacturing methods.
3D Printing Process of DMLS
If you are wondering how this 3D printing process works then I would like to tell you that there is no difference between this 3D printing process and other 3D printing processes.
The only difference is that this technique is used to design metal objects, and talking about the object designing process, it is similar to other 3D printing designing processes.
The Steps Involved in The DMLS Process Are as Follows:
- The object designing process starts with 3D model designing, first, the 3D object designer designs the object and then gives that designed model to the 3D printing machine.
- Once the 3D printer gets the 3D model, it converts that model into 2D layers and then sends the instructions to the laser.
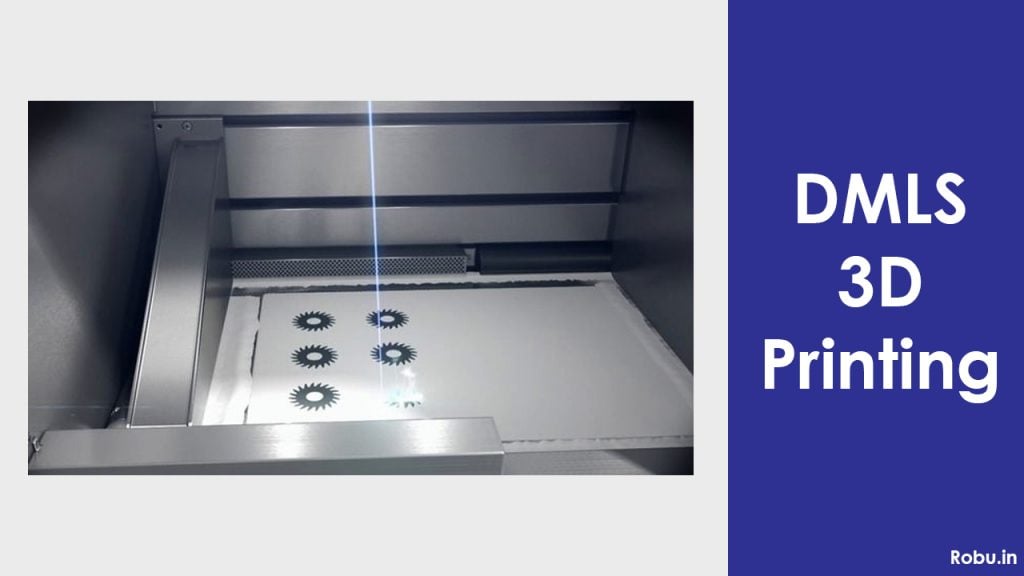
- The laser sinters the powder in a predefined manner.
- Once the layer is printed the reloader part of the 3D printing machine applies the second layer of powder to the previously designed layer.
- This process continues until the entire object is designed. After the object has been successfully designed, the final process that remains is to clean the excess powder from the designed object.
- To clean excess powder, we can use either a brush or air.
- In this way, the object is created using DMLS 3D printing technology.
Final Word:
In this blog, we learned the top four 3D printing techniques, which are being used to design 3D objects.
In our next blog, we will learn about the various rules of the 3D printing object designing process. If you have any doubt, please let us know in the comments section.
Also, do you know? You can use our affordable online 3D printing service to print 3D models and get them delivered to your doorstep in as little as two days. We offer instant quotations. Click Here to explore more!


