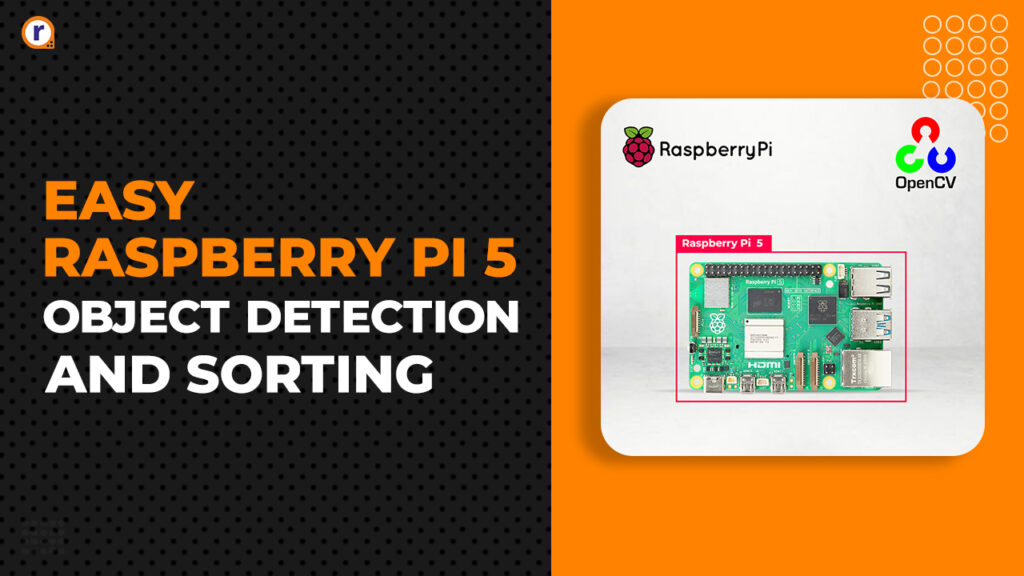
Easy Raspberry pi 5 and OpenCV based object detection and sorting using python
Hello tech enthusiasts Ever wondered how speed cameras caught over speeding and recognized the owner and send ticket for it, how object tracking robots and autonomous vehicles work?

Hello tech enthusiasts
Ever wondered how speed cameras caught over speeding and recognized the owner and send ticket for it, how object tracking robots and autonomous vehicles work?
They all have one common technology in them image processing and computer vision using which we have made object detection and sorting.
And in this blog, we will demonstrate how to setup hardware, flash raspberry pi 5, setup open cv , write code for it. So, whether you're a beginner or an experienced programmer, this guide will walk you through the process step-by-step. Let's dive in!
What is Open CV?
It is an open-source software library for computer vision and machine learning is called OpenCV (Open-Source Computer Vision Library). It has over 2500 efficient algorithms for a variety of computer vision tasks, such as image processing, face recognition, and object identification. It provides various useful tools and functions and supports various programing language
Key features
Image processing: - open cv allows to perform various task such as edge detection, filtering and many more
Computer vision: - it includes object detection, feature detection, and image stitching
Object tracking: - it provides object tracing which enables video surveillance and augmented reality.
Gesture Recognition: - it interprets human gestures using sensors and algorithms to enable natural interaction with devices.
Machine Learning: -
If you want to learn more you can view official website of open CV- https://docs.opencv.org
Why Raspberry Pi 5?
The Raspberry Pi 5 is a small, affordable on board computer that can be use for various programming and electronics projects. The Raspberry Pi 5, with its powerful processing capabilities, is perfect for running computer vision applications like this one we are building with OpenCV.
Read more here - https://www.raspberrypi.com/products/raspberry-pi-5/
Hardware Requirements
- Raspberry pi 5
- Raspberry pi 5 case /active cooler
- Power adapter for raspberry pi 5
- Micro-HDMI (Male) to Standard HDMI (Male)
- Monitor /screen
- Keyboard
- Mouse
- Camera
- Micro SD card
- SD Card adapter/Card reader
- LED
- Servo motor
Software requirement
Setup
- Hardware setup for Raspberry Pi 5
- Visual studio code installation
- OpenCV installation
Setting Up Raspberry Pi 5
Before we start coding, let's set up Raspberry Pi 5:
You can read this for detailed process - https://robu.in/set-up-raspberry-pi-5-step-by-step-beginners-guide/
Step 1: Install the Operating System
- Download Raspberry Pi OS: Visit the official Raspberry Pi website and download the latest version of Raspberry Pi OS.
- Flash the OS: Use a tool like Balena Etcher to flash the OS image onto a microSD card.
- Boot the Raspberry Pi: Insert the microSD card into your Raspberry Pi, connect it to a monitor, keyboard, and mouse, and power it up.
OpenCV installation
- Update and Upgrade:
sudo apt-get update && sudo apt-get upgrade -y
Python library -
$ sudo apt-get install python3-opencv
If you need detail article you can refer – https://qengineering.eu/install%20opencv%20on%20raspberry%20pi%205.html
To get Pre trained model and libraries refer this-https://core-electronics.com.au/guides/object-identify-raspberry-pi/
Code
Get complete code file here-https://github.com/Robu-In/Object-Recognition
 import cv2
 import asyncio
 import gpiod
 import time


LED_PIN = 17
 chip = gpiod.Chip('gpiochip4')
 led_line = chip.get_line(LED_PIN)
 led_line.request(consumer="LED", type=gpiod.LINE_REQ_DIR_OUT)


#thres = 0.45 # Threshold to detect object
 classNames = []
 classFile = "Files/coco.names"
 with open(classFile,"rt") as f:
     classNames = f.read().rstrip("\n").split("\n")


configPath = "Files/ssd_mobilenet_v3_large_coco_2020_01_14.pbtxt"
 weightsPath = "Files/frozen_inference_graph.pb"


net = cv2.dnn_DetectionModel(weightsPath,configPath)
 net.setInputSize(320,320)
 net.setInputScale(1.0/ 127.5)
 net.setInputMean((127.5, 127.5, 127.5))
 net.setInputSwapRB(True)


def getObjects(img, thres, nms, draw=True, objects=[]):
     classIds, confs, bbox = net.detect(img,confThreshold=thres,nmsThreshold=nms)
     if len(objects) == 0: objects = classNames
     objectInfo =[]
     if len(classIds) != 0:
         for classId, confidence,box in zip(classIds.flatten(),confs.flatten(),bbox):
             className = classNames[classId - 1]
             if className in objects:
                 objectInfo.append([box,className])
                 if (draw):
                     cv2.rectangle(img,box,color=(0,255,0),thickness=2)
                     cv2.putText(img,classNames[classId-1].upper(),(box[0]+10,box[1]+30),
                     cv2.FONT_HERSHEY_COMPLEX,1,(0,255,0),2)


    return img,objectInfo


def set_led(value):
     global led_line
     led_line.set_value(value)


async def main():
     cap = cv2.VideoCapture(0)

    cap.set(3,640)
     cap.set(4,480)


    while True:
         success, img = cap.read()
         result, objectInfo = getObjects(img,0.45,0.2, objects=['scissors'])
         # print(objectInfo)


        found = any('scissors' in sublist for sublist in objectInfo)
         if found:
             set_led(1)
             time.sleep(2)
             set_led(0)
             time.sleep(1)


        cv2.imshow("Output",img)
         cv2.waitKey(1)


if __name__ == "__main__":
     asyncio.run(main())
Results
Here we have updated code to detect scissors and given out the detection signal to GPIO pin
And as scissor is detected Red LED is turned ON.
Similarly we can update code to detect any object and further program Pi to sort it accordingly.

Conclusion
We have successfully set up Raspberry Pi 5 with OpenCV for object detection and sorting. This project showcases the powerful capabilities of combining computer vision with physical computing. From here, we can expand the project by adding more complex sorting mechanisms, integrating additional sensors, or applying advanced machine learning techniques.
Watch related videos- https://youtu.be/jqFQkm45vJI
Related blog- https://robu.in/set-up-raspberry-pi-5-step-by-step-beginners-guide/


