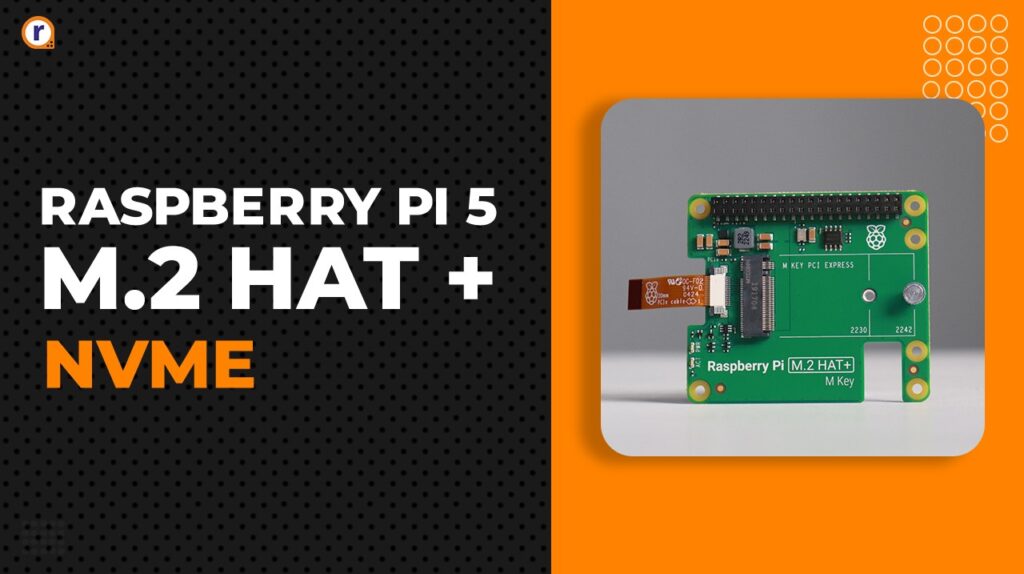
Raspberry Pi 5 Hat+ NVME – Boost your storage
The new and official Raspberry Pi 5 Hat+ NVME has arrived. And in this blog, I’ll show you how to setup it all up and other necessary things.

The new and official Raspberry Pi 5 Hat+ NVME has arrived. And in this blog, I'll show you how to setup it all up and other necessary things.
So, without wasting anytime. Let's get started.
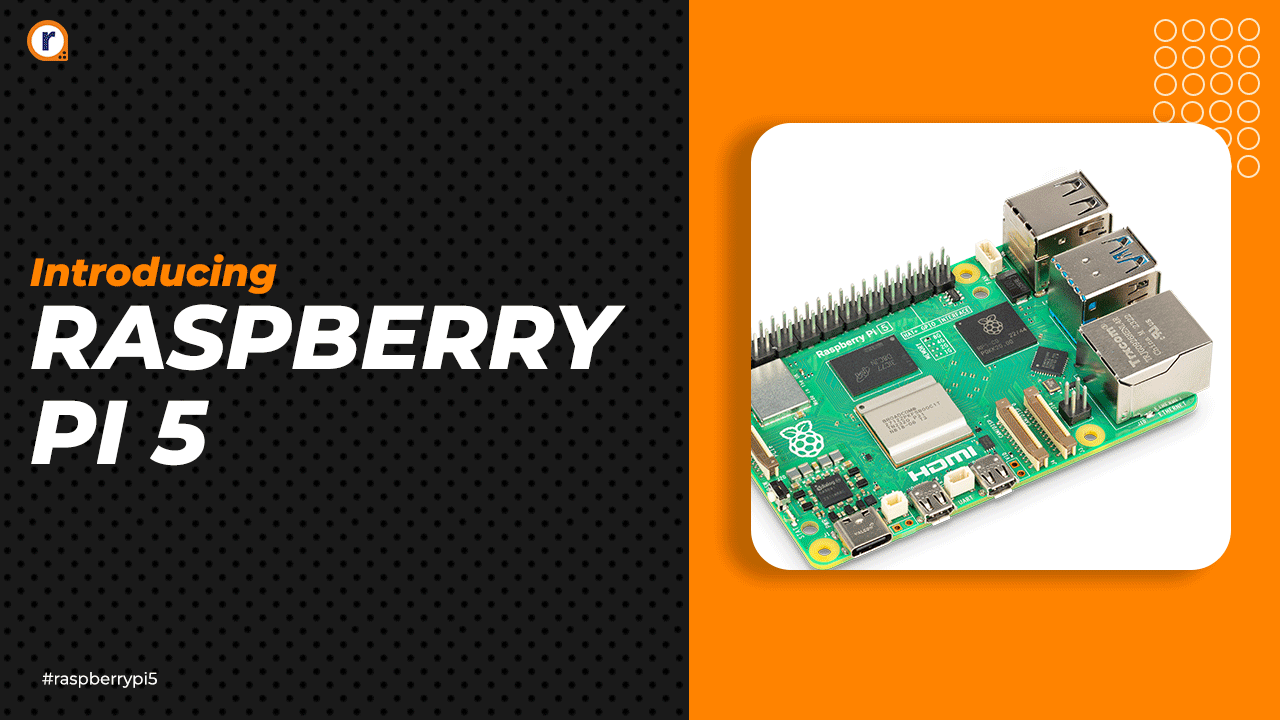
What is Raspberry Pi 5 ?
Raspberry Pi is a series of small single-board computers developed in the United Kingdom by the Raspberry Pi Foundation in association with Broadcom. Since 2013, Raspberry Pi devices have been developed and supported by a subsidiary of the Raspberry Pi Foundation, now named Raspberry Pi Ltd.
And Pi 5 is the latest SBC, as of this blog. And it provides the smoothest experience out of all Pi computers.
What is HAT ?
So, what does HAT stand for in Raspberry Pi terms? Simply put, HAT stands for 'hardware attached on top'. There are number of advantages, such as with HATs projects can be more customized to needs and using them in your project, especially easy as they're pretty much plug and play.

NVME SSD
NVM Express or Non-Volatile Memory Host Controller Interface Specification is an open, logical-device interface specification for accessing a computer's non-volatile storage media usually attached via the PCI Express bus.
SSD is a solid state drive using uses the NVME standard to transfer data in and out of the the storage drive. Not necessary that SSD has to use NVME, but that is for another topic.

How to set up HAT+ NVME
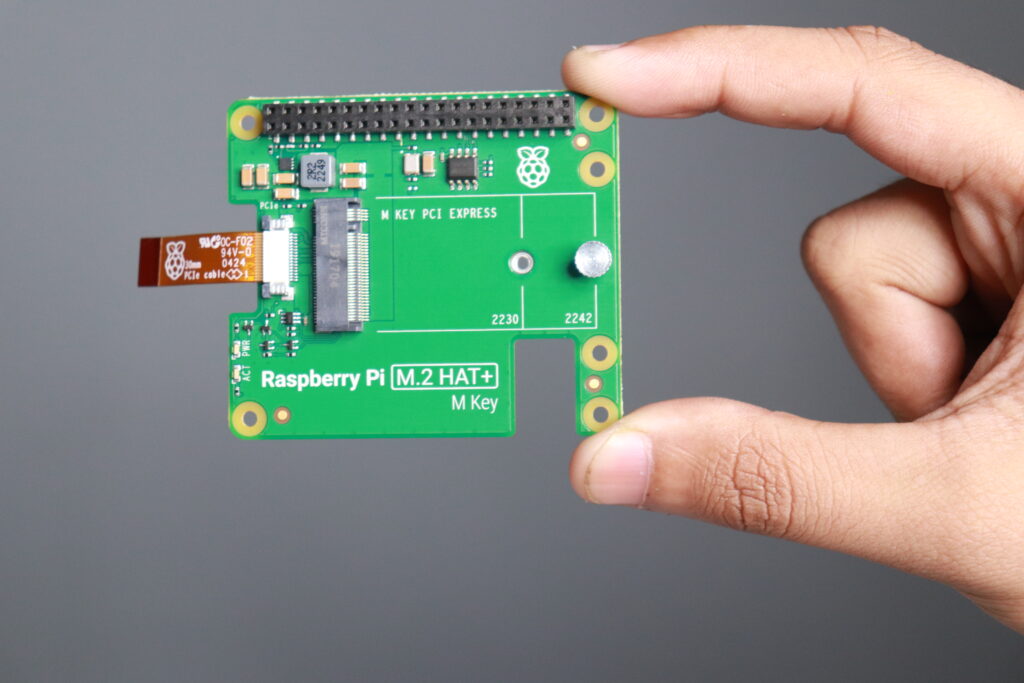
Empty all the contents of the box out on a table, and see if you have all the required parts or not. After confirming, take your Raspberry Pi 5 and screw all the 4 nylon spacers to it.
Also press the 40 pin extender to the 40 pins of the Pi 5. After that, take your HAT and place it on top of your Pi, making sure all the 40 pins has aligned correctly and press both of the boards together.
Side by side make sure that the PCIe cable is connected to the Raspberry Pi's PCIe slot. And clip the slot later on.
Now, take your SSD and insert it into the M.2 slot and fasten it down to the PCB using the provided thumb screw.
(Note: The supported NVME drive sizes are 2230 and 2242 only)
After installing the drive, connect the display and power connectors to the Pi, and boot into it. If you were using the latest Pi os, then you should see the drive has automatically mounted and ready to use.
If for some reason, the drive doesn't shows up. Then you need to head into the config file, using the command :
sudo nano /boot/firmware/config.txt
And scroll down to the [all] tab, and write these two in separate lines:
dtparam=nvme
dtparam=pciex1_gen2
And ctrl+o, then save on the same name. DONT CHANGE THE FILE NAME. Then ctrl+x to exit file editor.
Then do a reboot, and after rebooting. Type "lsblk" in the terminal to see if the drive it there or not. It should be there with the name nvme0.
And to test the drive is working or not, we can run a speed test of it by using this command:
sudo hdparm -t --direct /dev/nvme0n1
The last part might differ for you, so check the device name by lsblk and replace the last part with yours.
After the device has been detected, we need to run the command:
sudo mkfs.ext4 /dev/nvme0n1
to format the drive to something which Pi can understand i.e. EXT4
To mount the newly formatted drive, run this command:
sudo mount /dev/nvme0n1 /mnt/exdisk
What this will do is that, it'll mount the nvme drive to the exdisk folder present inside the mnt folder.
Now that folder can be used to store files on the ssd, and you'll see that the folder size has become almost the size of the ssd drive.
Conclusion
Well, that was it on how to set up Raspberry Pi 5 HAT. If you're still facing issues or having problem understanding, please refer to our Youtube Channel where have shown step by step on how to set up your HAT.
- And for other more interesting projects, check our main YouTube Channel


