In the exciting realm of electronics and microcontrollers, the Arduino brand has become synonymous with innovation and creativity. Whether you’re a passionate hobbyist or a seasoned professional, Arduino has captured

- Introduction
- What is Arduino Nano Every?
- Features of Arduino Nano Every
- Getting Started With This Single Board Processor
- Setting up the Arduino IDE
- Programming the Board
- Exploring the GPIO Pins
- Using Analog Inputs
- Communication Interfaces
- Powering the Arduino
- Troubleshooting Tips
In the exciting realm of electronics and microcontrollers, the Arduino brand has become synonymous with innovation and creativity. Whether you're a passionate hobbyist or a seasoned professional, Arduino has captured the hearts and minds of individuals worldwide. Among its impressive lineup, the Arduino Nano stands out as a remarkable choice, thanks to its compact size and impressive capabilities. In this article, we will dive into the incredible features, programming possibilities, and vast range of potential applications. Join us on this journey as we unlock the true potential of this remarkable microcontroller, empowering you to unleash your creativity and transform your ideas into reality
Introduction
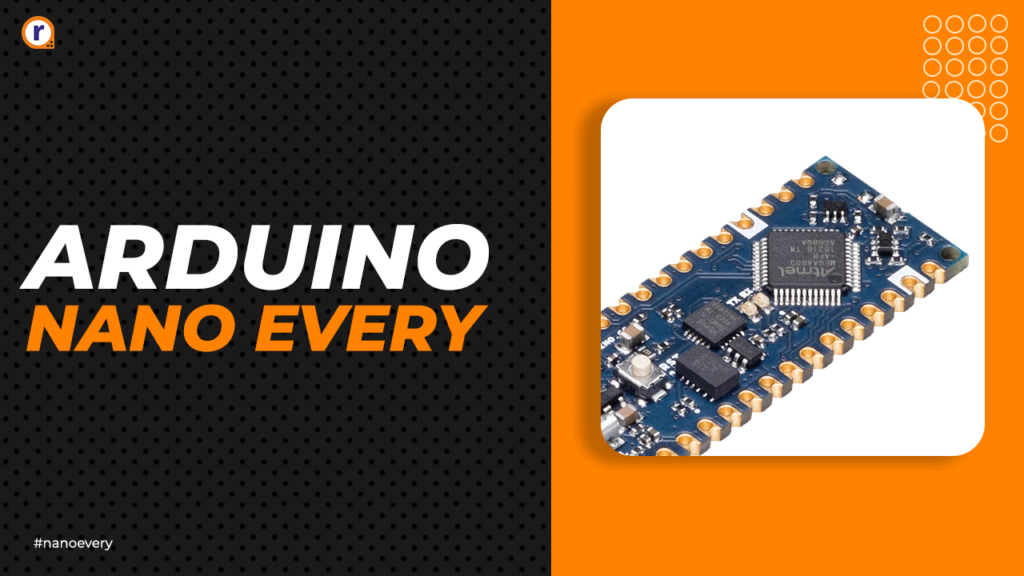
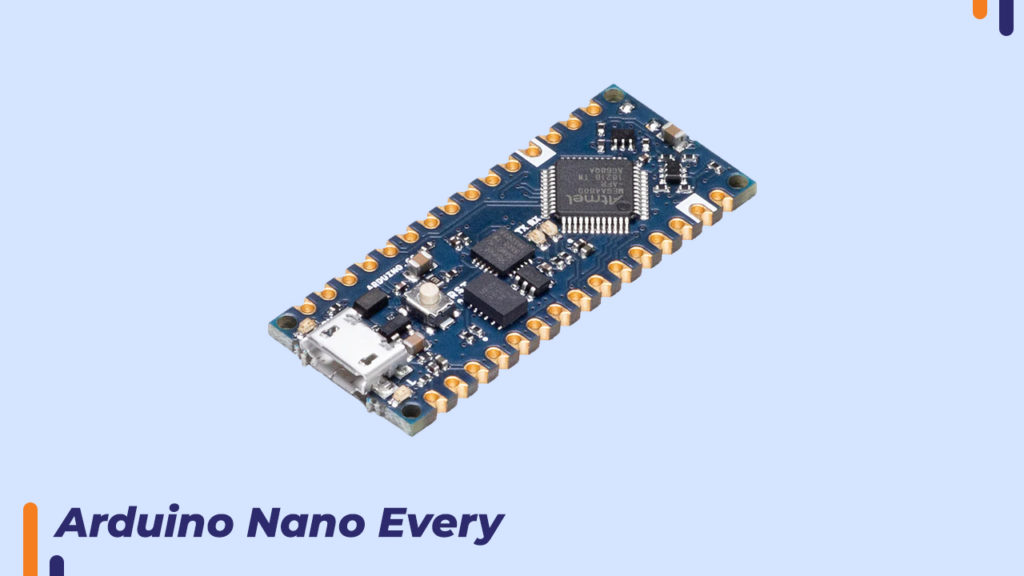
The Arduino Nano Every, a diminutive development board, builds upon the legacy of its predecessor, the Arduino Nano, to deliver a wealth of impressive functionalities. Crafted with advanced users and professionals in mind, this microcontroller board combines power and versatility within its compact form factor, making it an exceptional choice for projects with limited space requirements. With its unique blend of features, this microcontroller unlocks a world of possibilities for diverse applications, catering to the needs of innovative minds seeking compact yet capable microcontrollers.
What is Arduino Nano Every?
This a versatile microcontroller board based on the ATmega4809 microcontroller. Within its compact dimensions, this Arduino is equipped with 48KB of Flash memory, 6KB of SRAM, and 256 bytes of EEPROM. Despite its petite stature, this microcontroller offers a remarkable array of features that cater to a wide range of project requirements.

Features
With its ample GPIO pins, versatile analog inputs, and diverse communication interfaces, the Arduino Nano Boards emerges as an exceptional choice, empowering creators with its exceptional capabilities.
1. Compact Size: The small form factor allows it to be integrated into projects with limited space.
2. Generous GPIO Pins: With 22 digital GPIO pins, including six PWM outputs, and eight analog inputs, provides ample flexibility for connecting various components.
3. On-board Interfaces: The board of the Arduino encompasses UART, I2C, and SPI interfaces, facilitating effortless communication with a variety of external devices. This seamless connectivity enables smooth and efficient data exchange, expanding the possibilities of project integration and collaboration.
4. USB Connectivity: This can be easily connected to a computer via USB for programming and power supply.
5. Low Power Consumption: Designed with power efficiency in mind, consumes minimal power, making it suitable for battery-powered applications.
Getting Started With This Single Board Processor
To Begin and Start Our Discussion We Here First Cover Every Aspect From Set-Up to Connection to Everything Which Helps Reader to Understand the Board Completely
Setting up the Arduino IDE
Step 1: Setting up the Arduino IDE
The first step is to download and install the Arduino IDE from the official Arduino website. Once installed, open the IDE and configure it to work.
Step 2: Connecting the Arduino
Connect Your Board to your computer using a USB cable. Ensure that the drivers are installed correctly, and the board is recognized by the IDE.
Step 3: Selecting the Board and Port
In the Arduino IDE, select the appropriate board and port from the "Tools" menu. Choose "Arduino Nano Every" as the board and the corresponding port to establish communication.
Programming the Arduino Nano Every
Programming the Arduino Nano is a straightforward process. The Arduino IDE provides a user-friendly interface for writing, compiling, and uploading code to the board
To write code for the Arduino, follow these steps:
Step 1: Installation and File Access
Open the Arduino IDE and click on "File" and then "New" to create a new sketch.
Step 2: Writing the Code
In the IDE, you'll see two empty functions: setup() and loop(). The setup() function is executed once when the board starts up, while the loop() function runs continuously. Write your code within these functions.
Step 3: How to Compile and Upload Code
After writing the code, click on the checkmark icon to compile it. Make sure there are no errors. Once the code compiles successfully, click on the arrow icon to upload it to the Arduino.
Exploring the GPIO Pins
This Single Board Processor have 22 digital GPIO pins, each can be configured as an input or output. These pins allow you to connect and control various components such as LEDs, sensors, buttons, and more.
To use the GPIO pins, you need to specify their mode (input or output) and can then manipulate their state using the digital Read () and digital Write () functions in your code.
Using Analog Inputs
In addition to the digital GPIO pins, this offer eight analog inputs. These pins can read voltage levels ranging from 0 to 5V, allowing you to interface with analog sensors and devices.
Communication Interfaces
This Arduino board support various communication interface, including UART, I2C, and SPI. These interfaces enable to communicate with other devices such as sensors, displays, and external microcontrollers.
You can utilize libraries and built-in functions in the Arduino IDE to implement communication protocols and exchange data with compatible devices.
Powering the Arduino
The Single Board can be powered in different ways depending on your project requirements, It Can be Used as a USB an external power supply, or a battery as well. The voltage supplied must be within the recommended range (5V) to avoid damaging the board.
Troubleshooting Tips
Some Tips for Troubleshooting are as Below mentioned
- Ensure proper connections: Double-check your wiring and connections to ensure they are correct and secure.
- Verify the code: Review your code for any syntax errors or logical mistakes that could be causing the issue.
- Check power supply: Make sure this Single Board is receiving adequate power and that the voltage is stable.
- IDE and Drivers Upgrades: Please Make Sure to Upgrade the Drivers and Arduino IDE version installed to avoid compatibility issues.
Consult the Arduino community: If you're still facing difficulties, reach out to the Arduino community forums or online resources for assistance.
Conclusion
The Arduino Board offers a powerful and compact solution for electronics enthusiasts and professionals. We Hope You Found this Blog Useful and Cover All Aspects of the Original Arduino Every Board Now You also can Start Your Project on Arduino Nano Board Without Any Doubts and Queries.


Informative