How to Power Arduino Nano with Battery
Namaste! Are you trying to power your Arduino nano through battery? Having trouble powering it? This blog is for you. Many of us require powering of the Arduino through a

Namaste! Are you trying to power your Arduino nano through battery? Having trouble powering it? This blog is for you.
Many of us require powering of the Arduino through a battery for our portable projects. Mostly the Arduino nano is used for portable projects only due to its size offering. Being small and effective for low power and small sized projects.
You can power it in multiple ways shown below

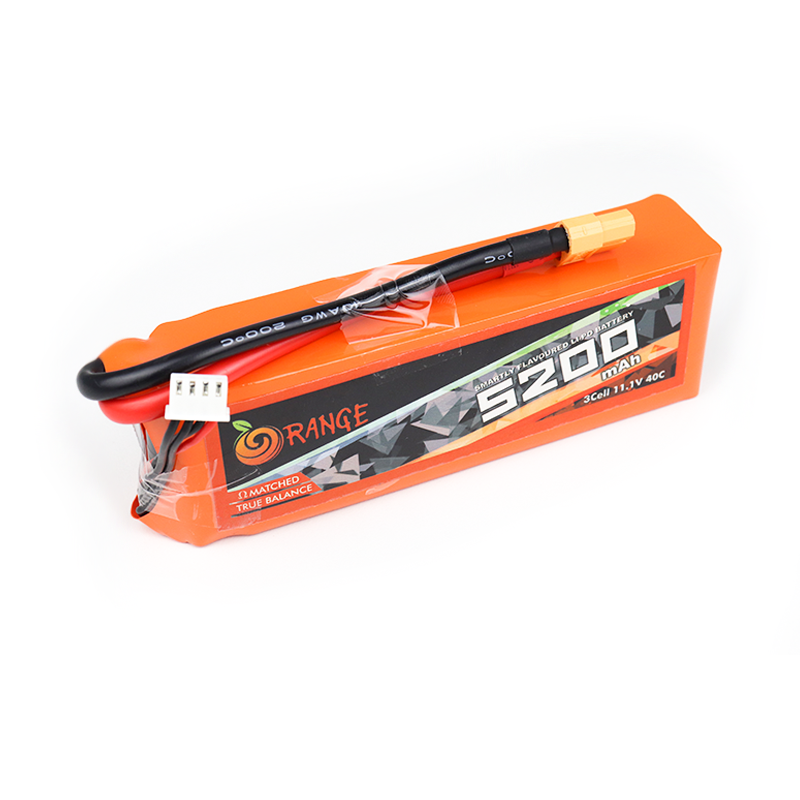
3. Rehargeable/Non Rechargeable AA batteries
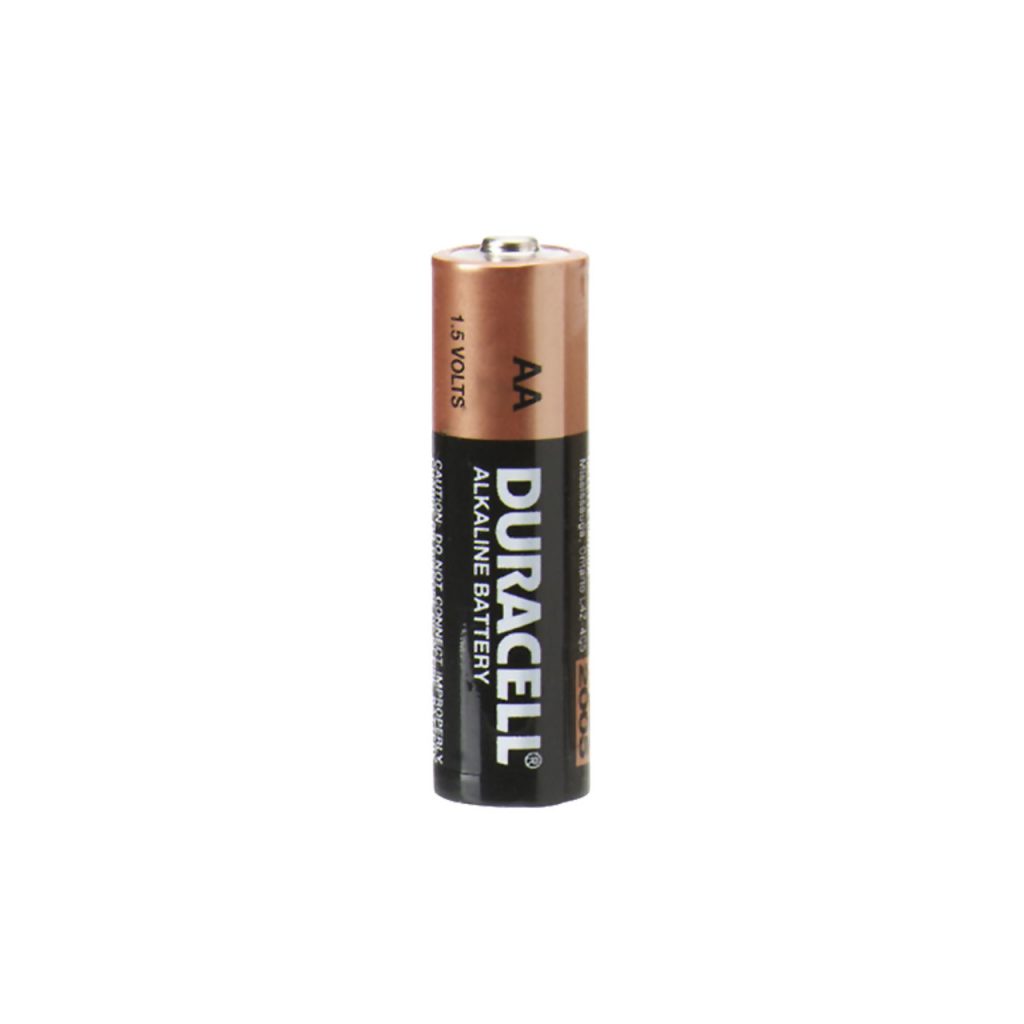
4. Other batteries
You can use many other types of batteries as well depending on the batteries which you have. The process will be same. You can use complex processes to achieve what I have done, but I will be showing the easiest and the most efficient way on how you can do it.
I will not be covering Lithium polymer batteries as it is not usually used to power Arduino nano. Li-Po batteries are basically for high performance needs in drones.
Powering Arduino Nano with Lithium Ion Batteries
Lets talk about lithium ion batteries to power up. They are cheap and easy to charge and have good life cycle.
Lithium Ion batteries depending on your operation requirements. I am using 18650 here. We will be discussing only with the Lithium Ion batteries.
Things required
Step 1- Place battery into battery holder.
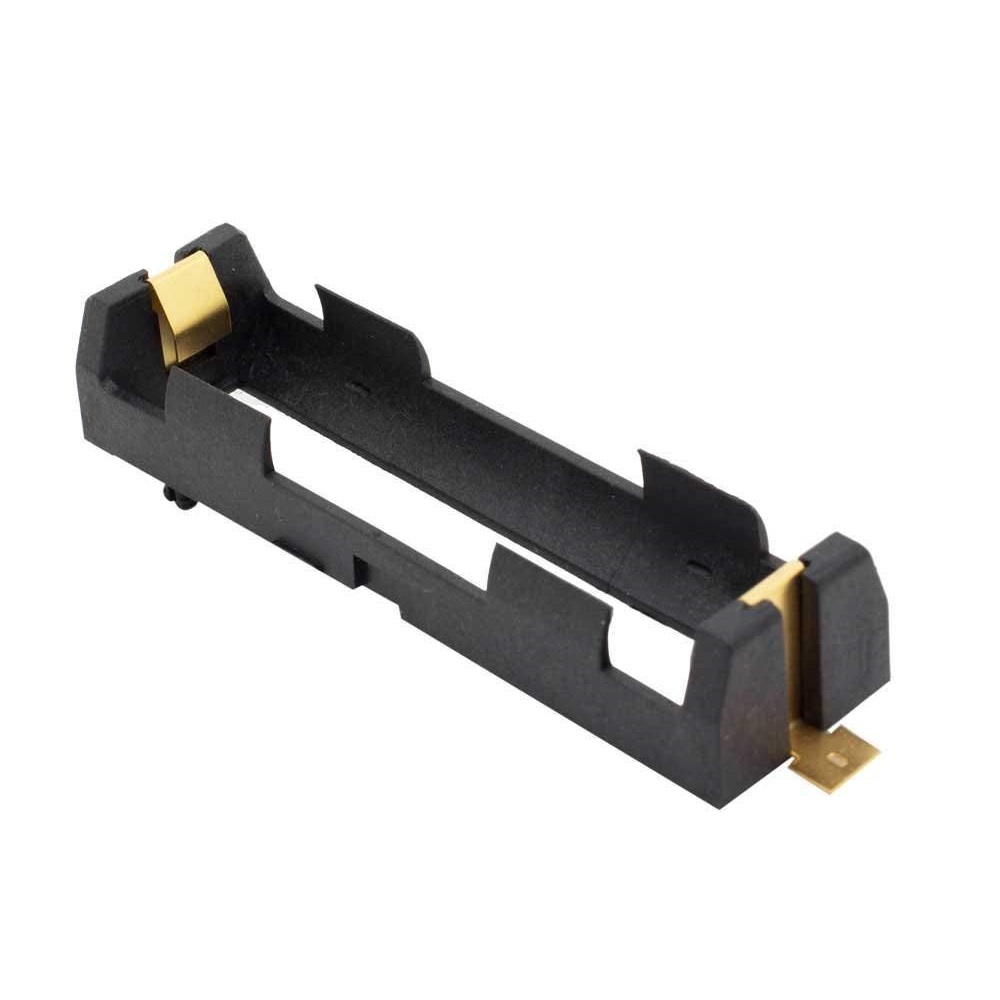
- Select Battery holder depending on the type of the batteries used. Here I am using 18650 Li- Ion batteries so I will use a 18650 battery holder.
Step 2: Connect Terminals of the Battery Holder with the Protection Board
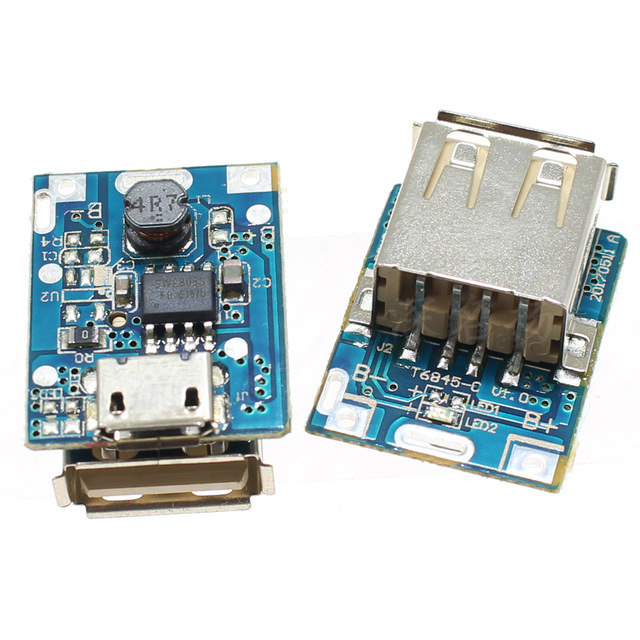
- Connect the positive(B+) and negative(B-) on the protection board with the holder terminals( solder them properly). Then Connect the battery protection board to your standard micro USB charger of your phone. Once it is charged it will show green light.
Step 3- Now Charge the Battery with a Micro-USB Phone Charger
- In this board you can charge your battery with a basic phone charger having micro USB port. Once the batter is fully charged the board will indicate green LED glowing.
Step 4- Connect USB port of Arduino Nano
- After charging you need to remove the micro USB and connect USB port of your Arduino nano to the female USB on the protection board. Now the Arduino board will run.
- You can do all sorts of portable projects with battery and Arduino.
This circuit connection of battery with protection board can act as power bank for your phone. You can even use it to power different USB devices or charge them. So coming to conclusion that this circuit is multipurpose and is very portable and effective.
Hope this blog gave you some information. If you have any suggestions or Ideas please let me know in the comment section. Sayonara(goodbye)


